Example: Node.js + Angular (two-process)
A browser-only walkthrough that instantiates the environment pattern for an Express API paired with an Angular dev server — the two-process model, where the dev server proxies /api to the API and the browser live-reloads as the agent edits.
You don't build anything locally: point a CoderFlow environment at the ready-made reference app and configure it in the Web UI. This is one of several combinations in the reference-apps repo — every backend/front-end pairing is configured the same way (see the Stack reference). The PHP example shows the single-origin model.
What you'll need
- Permission to create environments in the CoderFlow Web UI. For background, see Core Concepts and the Environments reference.
- Network access from CoderFlow to GitHub — the reference repo is public, so no credentials or Git provider setup are required.
The reference app
The code lives in node-angular/ of the reference-apps repo. Two pieces define the two-process wiring:
-
api/— an Express API exposing one endpoint on port 3001:app.get("/api/hello", (_req, res) => {res.json({ message: "Hello from the Node.js API!" });}); -
web/— an Angular app whose component fetches/api/helloand shows the message.web/proxy.conf.jsforwards/apito the API, so the browser only ever talks to one origin (no CORS):module.exports = [{context: ["/api"],target: process.env.API_TARGET || "http://localhost:3001",secure: false,changeOrigin: true,},];
The rest is the standard Angular scaffold. Everything below happens in the CoderFlow Web UI.
Create the CoderFlow environment
This follows the environment pattern; the steps fill in the Node.js + Angular values.
1. Create the environment
Go to Environments → New Environment. On the Overview tab set a Description, a Default Agent, a Docker Image name (e.g. node-angular), and a Timezone.
2. Add the repository
On the Repositories tab, click Add Repository → Manual Entry and paste the public URL https://github.com/ProfoundLogic/coderflow-reference-apps. Set Branch main and a Path (the steps below assume /workspace/coderflow-reference-apps); no credentials are needed for a public repo. For Post-clone Action, choose Custom command and install dependencies for both the API and the front end (baked into the image at build time):
cd node-angular/api && npm ci && cd ../web && npm ci
There's no pre-clone script to add: the base image already includes Node.js, so there's no runtime to install. (The .NET example needs one.)
3. Configure the application server
On the Application Server tab:
- Start Command — start the API in the background, then the Angular dev server:
cd /workspace/coderflow-reference-apps/node-angular/api && node --watch index.js &cd /workspace/coderflow-reference-apps/node-angular/web && API_TARGET=http://localhost:3001 npx ng serve --host 0.0.0.0 --port 4200 --proxy-config proxy.conf.js
- Ports — add
4200(name likeweb) and3001(name likeapi). - Launch URLs — add one with Path
/on port 4200, and mark it primary.
Two processes run side by side: the API on 3001 and the Angular dev server on 4200, which proxies /api to the API. Bind the dev server to 0.0.0.0 so CoderFlow's task proxy can reach it.
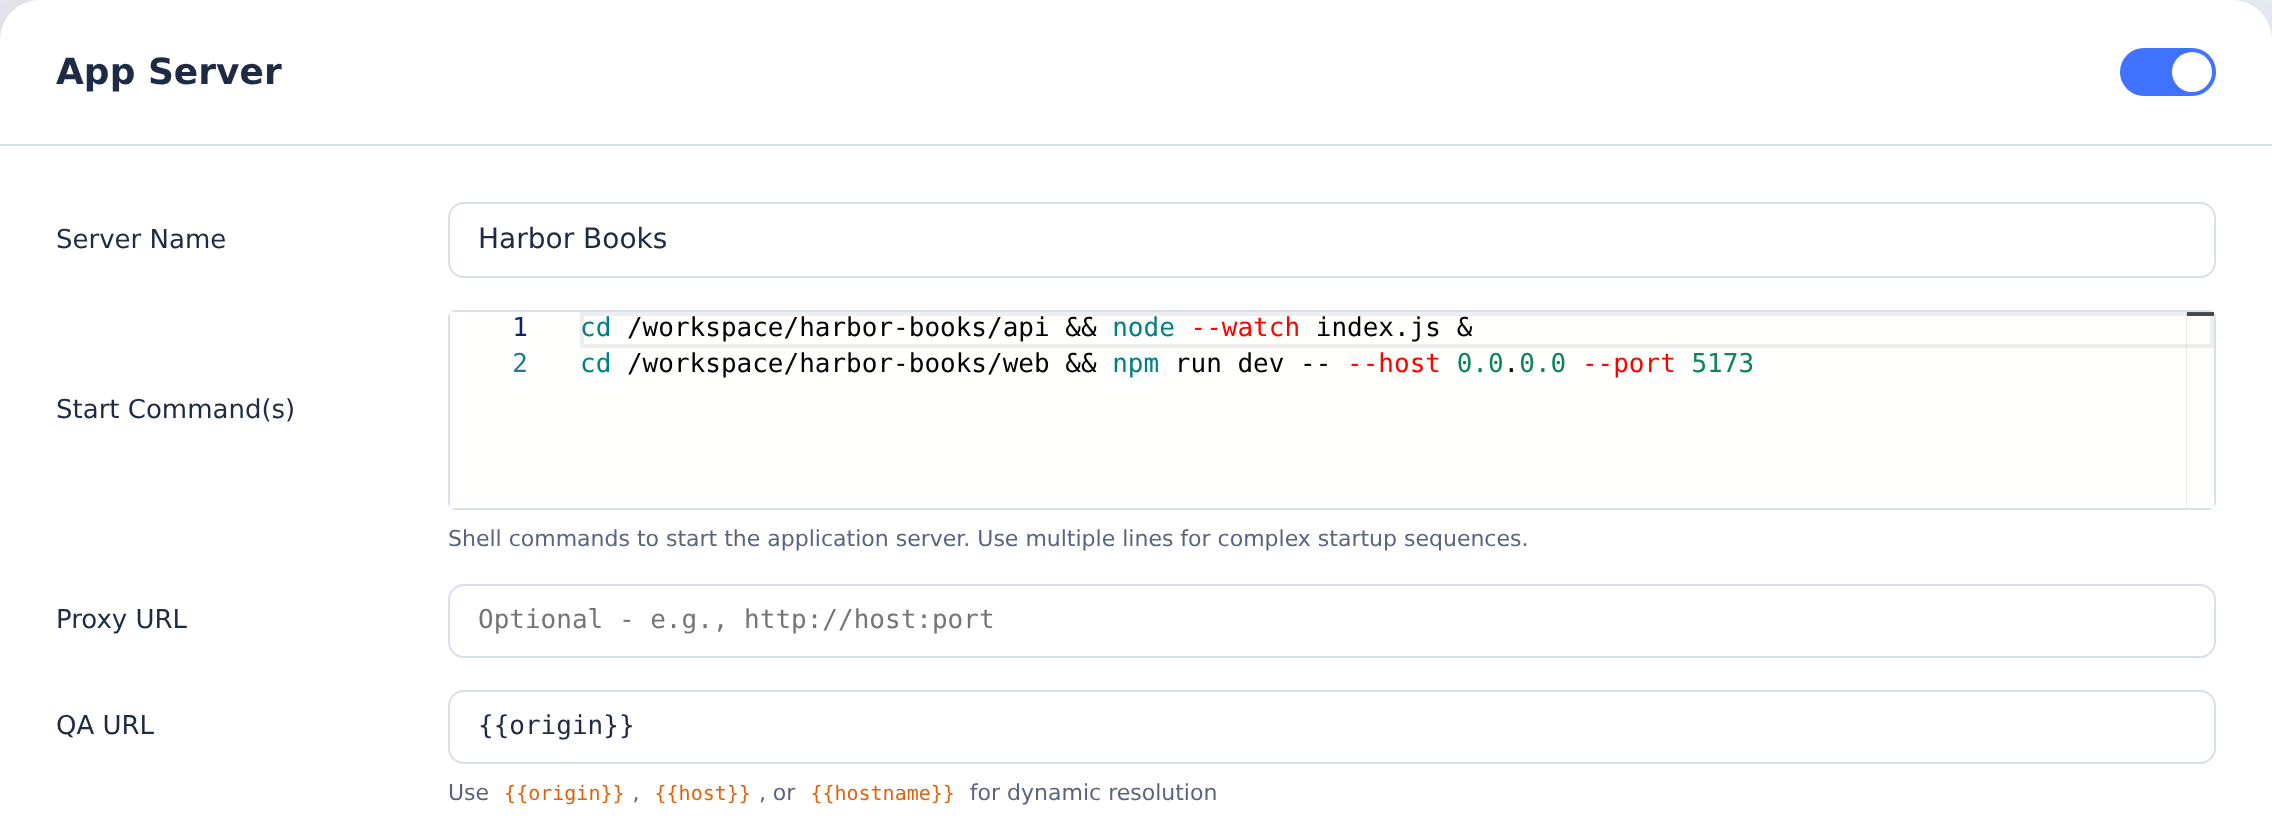
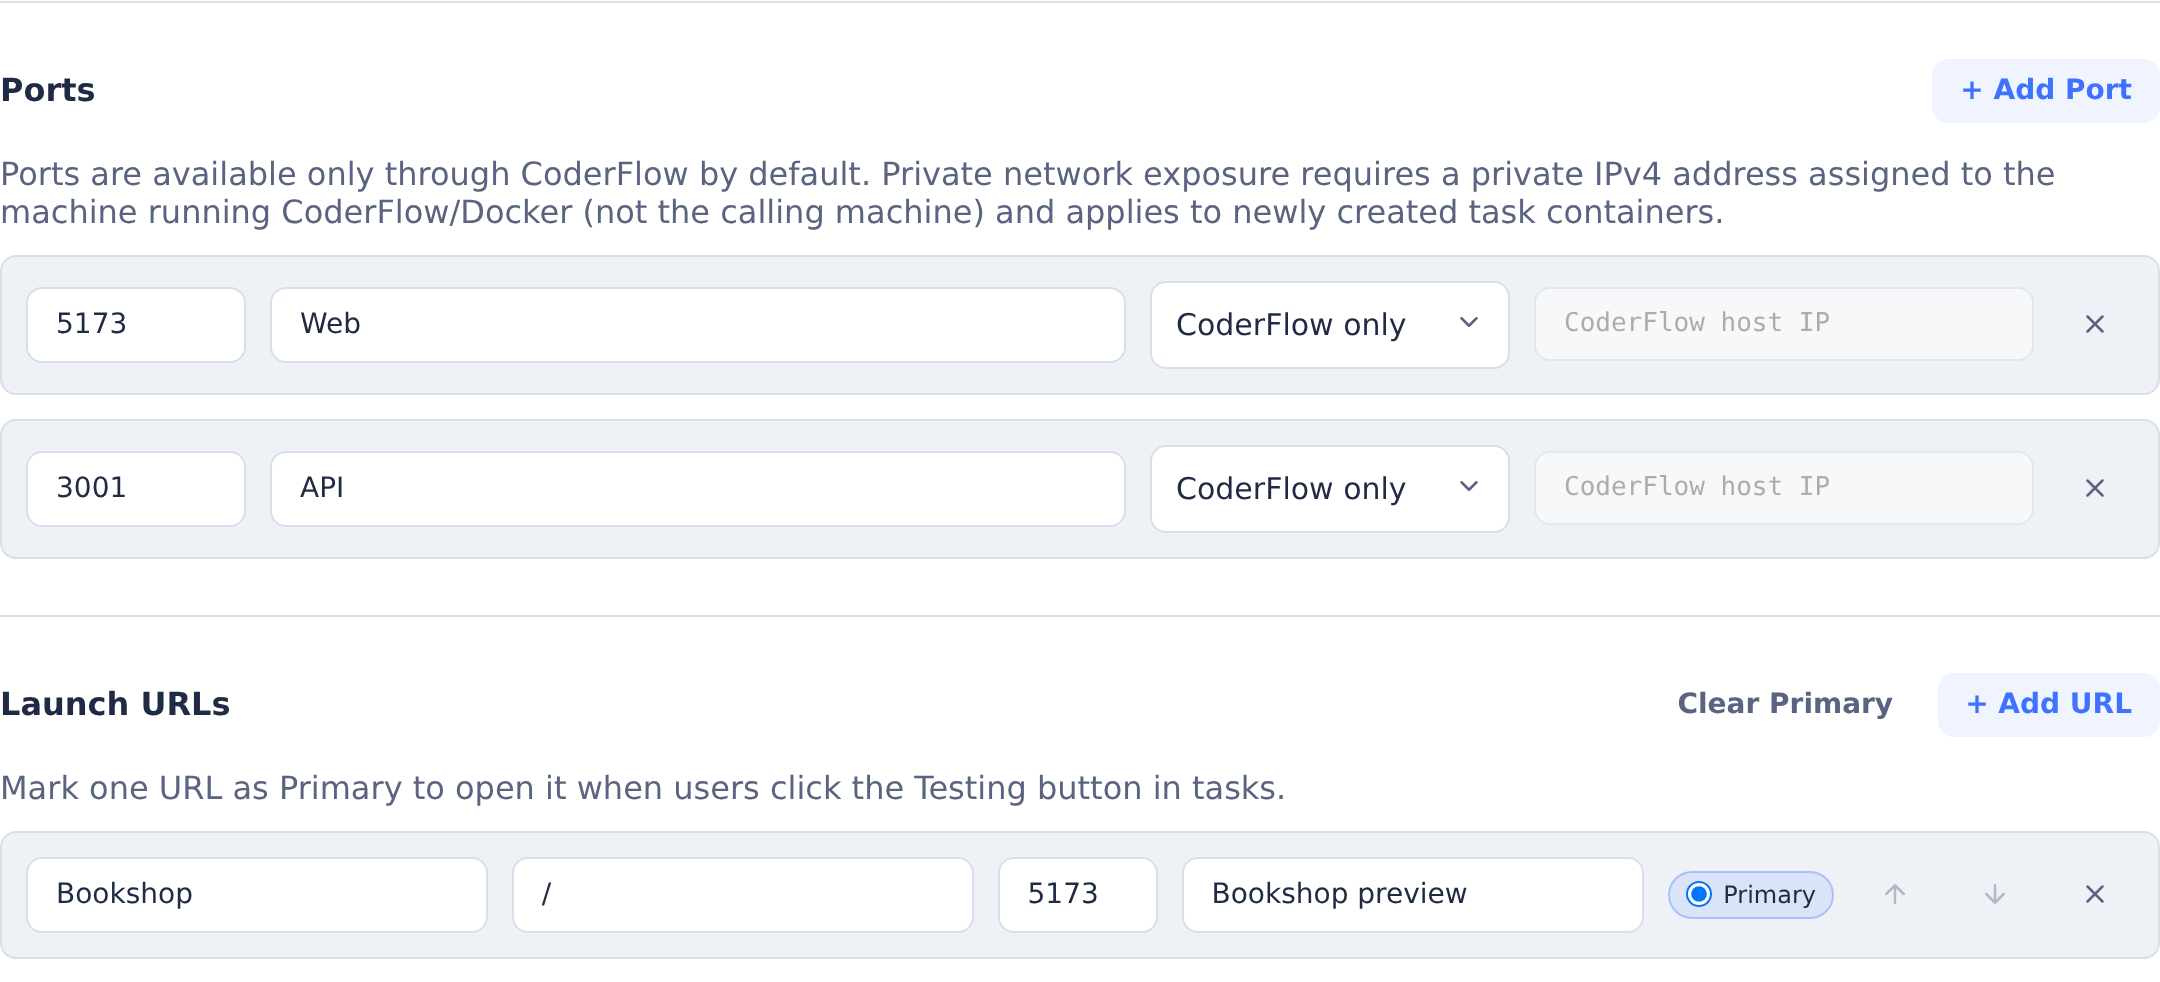
These shared App Server images use Harbor Books with React/Vite on 5173. For this Angular walkthrough, use the start command above and set both the Web port and primary launch URL to 4200; the API stays on 3001.
4. (Optional) Agent testing and tests
On the Agent Instructions tab, under Standard Instructions, enable Screenshot Guidelines. On the Tests tab, add a command like npx ng build run from node-angular/web. See Test Definitions.
5. Build the environment
On the Build tab, click Build Now. When it succeeds, click Save, then Commit & Push.
Run and test it
- Create a task in this environment. CoderFlow starts a container from the built image; dependencies are already installed, so no
setup.shis needed. - Open the task → Testing menu → Start Server (or Start Server & Launch). See The Testing Menu.
- Click the Launch URL. The Angular page opens through CoderFlow's task proxy and shows "Hello from the Node.js API!".
- Use the in-app feedback widget to screenshot and annotate, and run any Tests you defined.
Notes
- Live reload. As the agent edits the front end, the dev server rebuilds and the browser reloads through CoderFlow's task proxy — no server restart. This edit-and-see loop is why two-process is the recommended model when you're actively iterating on the UI. The API runs under
node --watch, so it restarts automatically on backend edits too; since the page fetches/api/helloon load, click the page's Reload from API button or refresh to see a new API value. - Pointing the dev server at a remote API. Because the proxy target comes from
API_TARGET, you can set it to a remote API instead of the local one without changing code. - Serving as one process instead. For a single-process / single-host shape, the front end is served from the same origin as the API — the single-origin model, shown in the PHP example.
- Calling internal APIs over HTTPS. Load your corporate root CA so the container trusts private-CA certificates — see CA Certificates — and start Node with
--use-system-ca(or setNODE_EXTRA_CA_CERTS). Keep base URLs and credentials on the Secrets tab (Secrets).
Related
- Web Application Environments — the pattern this example follows
- Stack reference — values for other backends and front ends
- Reference apps repo — every backend/front-end combination
- Environments — full reference for every environment tab